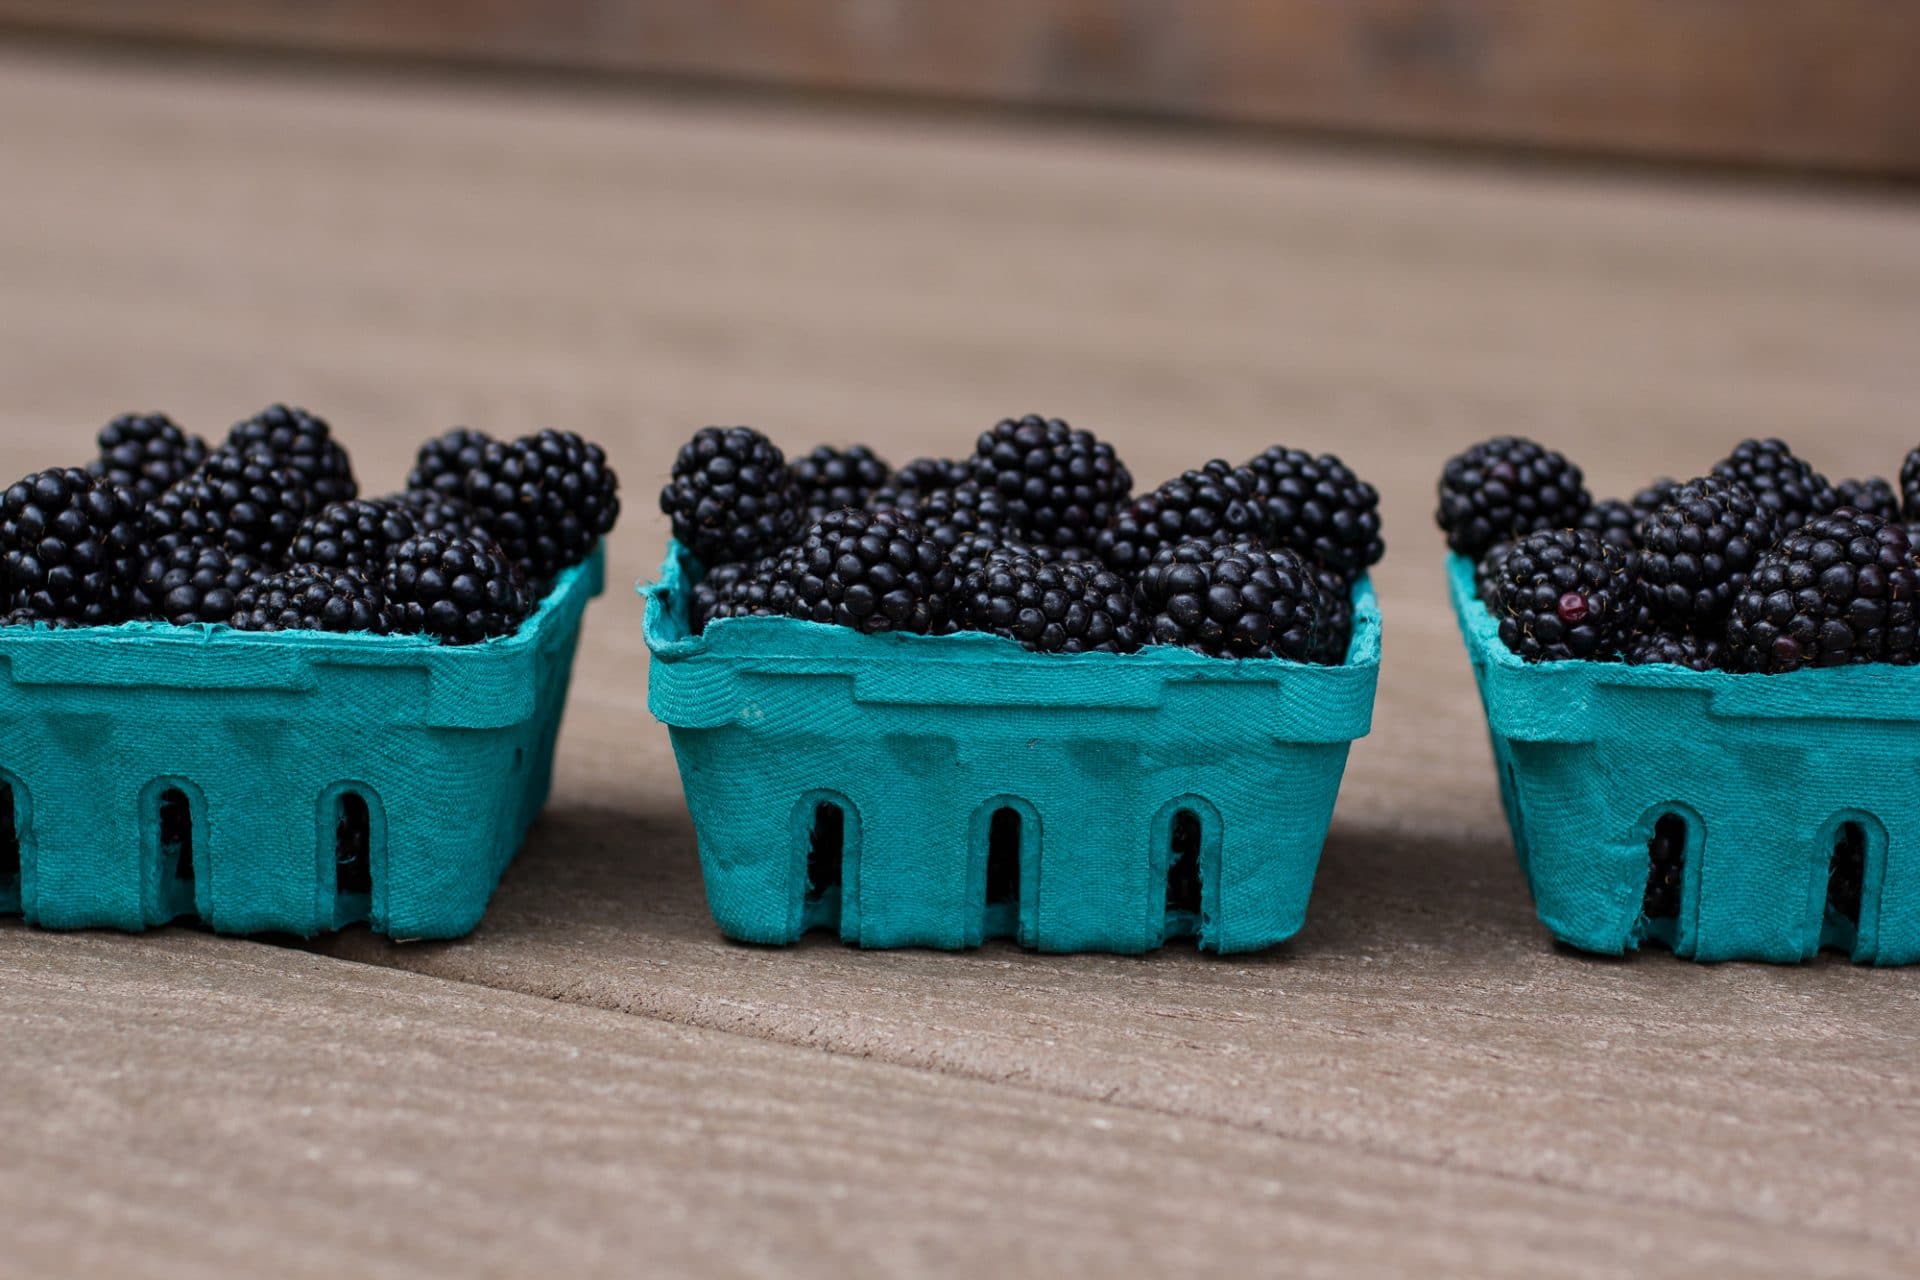
This was my first attempt at jelly… it turned out AMAZING! Seriously, Best. Idea. Ever! There are differences between Jelly, Jam, and Chutney. They each require different preparations to be canned. Jelly has no whole fruit in it; it is processed from the juice of the fruit. So when following this recipe, don’t leave whole chunks of fruit in it, that would be jam and would call for a different recipe. When I bought massive quantities of blackberries everyone was a little skeptical knowing I’d never made anything with them before. But it was actually much easier than anticipated. Like most cooking/canning experiments, the process was simply time consuming the first time around as I figured things out. The second attempt was much easier!
Blackberry Jelly
Equipment
- Large sauce/soup pot
- Canning pot with rack on bottom
- Can lifter
- Funnel
- Thin mesh colander or cheesecloth
- Jelly jars, lids, and rims – make sure to sanitize all by running the jars through dishwasher and dipping rims and lids into boiling water
Ingredients
- 10 pints black berries – approximately 4c. prepared juice
- 4c granulated sugar
- 1 tablespoon butter
- 1 box pectin
Directions
- Thoroughly rinse berries
- Put berries in large pot & semi mush
- Let berries cook down, stirring occasionally, for about an hour on low heat
- Bring berries to slow rolling boil for 20 minutes or until all fruit is soft
- Set a strainer or cheesecloth on top of new pot. Slowly pour berry mash into strainer and let juice run into new pot.
- Once majority of juice has drained out of berry mash, stir & lightly mash further to get more juices out. Let sit awhile longer until you feel that you’ve gotten the majority of the juice out. I normally let it sit for at least an hour if not two.
- Measure out 4c of juice. If you are a little short on juice, let mash drain a little more. If you have more than 4c, for the purpose of this recipe – stick with just 4c.
- Put juice back on stove, turn on medium heat.
- Add butter and box of pectin, stirring constantly {butter helps reduce foam}
- Bring to boil then gradually begin adding sugar, stirring constantly
- Bring back to a rolling boil, let boil for 1 minute
- Remove from heat
- If there is a surplus of foam on top, skim it off and discard
- Ladle jelly into sanitized jars leaving 1/2” at top, you want to get the jelly into the jars fairly quickly because it will begin setting.
- Wipe rims. Place lid & rim on and tighten to finger tightness. Don’t over tighten rim, air needs to be able to escape during water bath to ensure good seal.
- Place jars in canner with boiling water, tops need to be covered with water. Cover and let process for 15 minutes.
- Remove jars from water bath & place on cooling rack. Lids will pop, let jars cool for 24 hours. Remember to label and date jars.
Canned jelly is good up to 18 months as long as the lid remains concave. Because it doesn’t have preserves, it’s not going to last forever, so keep that in mind when determining how much to make. I made a substantial amount this year because I will be using for gifts!! As always, let me know how it turns out for you. Feel free to post or email any questions! Love to hear your experiences!
- Photos: Sarah Kudlack